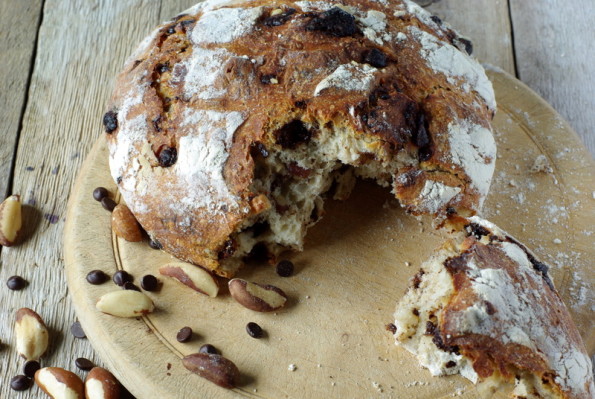
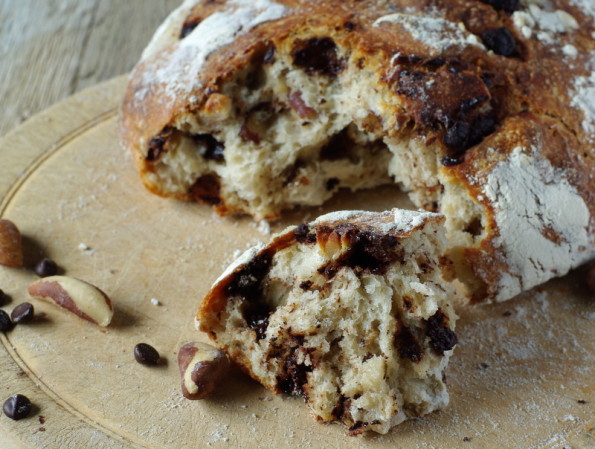
Today’s post is in celebration of Real Bread Week!
As you may know from looking at past posts here, I am a huge, huge fan of bread. I love it. I love everything about it, and for me, making bread is a mindful calming thing that fills me with a ridiculous amount of joy, and cheers me up even on the most downer of down days. I believe there’s something inherently therapeutic about it.
As it happens, my feelings on the matter are shared the world over -I think there’s something truly ingrained (no pun intended…okay, maybe intended a little…) and human about using a skill that we’ve honed as a race over thousands of years. And bread, in it’s real and natural form, is an abundantly healthy food.
A few years ago, a group of bread enthusiasts started up a movement to encourage more people to bake and consume real bread. According to their website:
Our mission is to find and shares ways to make bread better for us, better for our communities and better for the planet.
With such an excellent mission their campaign is growing in numbers, support, and impacting an increasing number of lives every day.
So what is “Real Bread”? In terms of the Real Bread Campaign, they define it thusly:
Real Bread is that made without the use of processing aids or any other artificial additives.
And they go on to elaborate:
Technically, the only ingredients essential for making bread are flour and water.With these two things you can make flatbreads, or nurture the yeasts and bacteria naturally present in the flour to create a sourdough culture.
That said, without a little pinch of salt bread can be a tad bland, and you might prefer to let someone else culture the yeast, rather than do it yourself.
So, for plain, leavened Real Bread … that gives us at most:
Flour
Water
Yeast (either commercial or a natural sourdough starter)
Salt
Anything else is, by definition, unnecessary.
And add that:
Sometimes, you might not want a plain loaf – you might want it enriched or otherwise jazzed up a bit.
Additional ingredients are great as long as they are natural (e.g. seeds, nuts, cheese, milk, malt extract, herbs, oils, fats and dried fruits) and themselves contain no artificial additives.
While, obviously, I’m a huge supporter of this campaign and what it represents, I must say that my definition of real bread is a bit broader. In line with my overall philosophy on food, I try to use the most unprocessed products that I can, but I would define wholesome soda leavened bread, and yeasted breads that use instant yeast, as real bread too. For me as long as I’m eating mostly whole grains, and whole foods in a mostly un-processed form, then I, and my body, are happy.
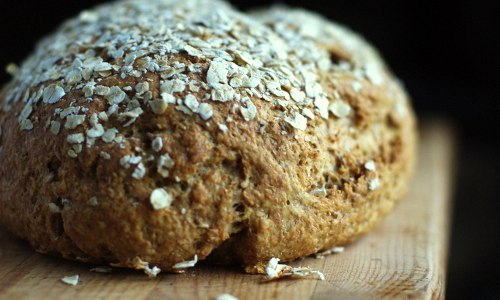
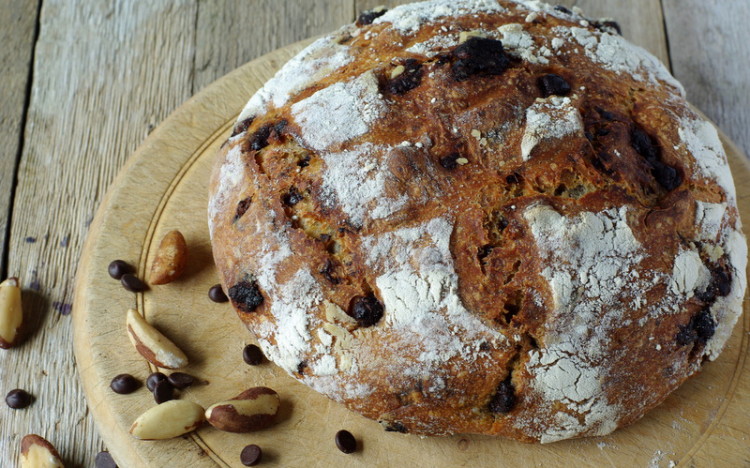
So in celebration of real bread week I’ve made chocolate brazil nut sourdough. For the flour I did use white, but in the spirit of the campaigns definition, the white flour that I used is stone ground, and the chocolate (not too sure if chocolate technically fit within their guidelines, but for me a celebration is not a celebration without a bit of chocolate) is dark organic chocolate.
This loaf is a celebration indeed, (in fact while taking the pictures I nearly ate half of the loaf)and I hope that you’ll get a chance to whip up a loaf or two this weekend too!
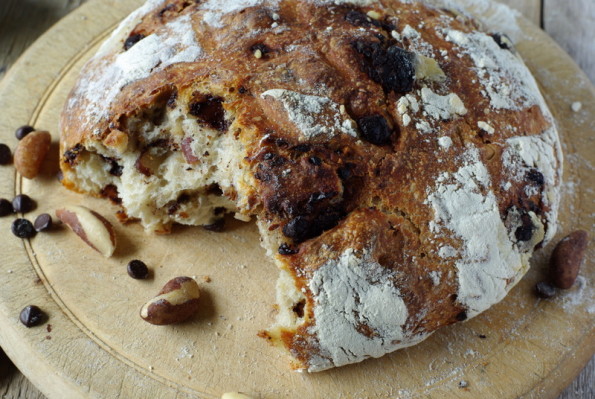

- 100g or 3/4 cup of coarsely chopped Brazil nuts
- 124g or 3/4 cup of coarsely chopped dark chocolate
- 375g or 3 cups good quality, stone ground strong whit flour
- 250g or about 2/3 cup sourdough starter
- 2 tsp salt
- 200-225 ml or 3/4-1 cup water
- Measure the starter and flour into a large bowl and begin to mix it together with your fingers. Add about 3/4 of the water and scrunch the mixture together with your fingers to make a rough dough. Add more the water if you need it, this will be dependent on how wet your starter was. You want the dough to be soft but not sloppy.
- Once the dough has just come together, leave it for 15 minutes, and then tip it onto a lightly oiled surface and sprinkle over the salt. Knead the dough well for about 10-15 minutes until you can no longer feel the salt, and the dough is smooth and elastic, and no longer sticks to your hands. Form it into a rough ball and put it into a lightly oiled bowl. Cover with cling film and leave it to prove at room temperature for about 5 hours.
- After the first prove, tip the dough again onto a lightly oiled surface and flatten it out with your fingers to form a flat rectangle. Sprinkle over the nuts and chocolate, and then roll the rectangle from the short side to form a cylinder. Turn the cylinder so the short side is facing you and flatten it once again with your fingers and then roll it up again. Repeat this process until the fillings are evenly distributed, and then form the dough into a smooth ball. Flour a clean dish towel very well, and put it into a medium sized, deep mixing bowl so that the inside of the bowl is covered with the cloth, flour side up, and the edge of the cloth hangs over the edges of the bowl. Flour the ball of dough and place it, smooth side down, onto the floured cloth in the bowl. Place a pot lid over the top that covers it well enough that the dough won’t dry out, and leave the dough for 11-13 hours.
- When the proving time is nearly finished, pre-heat the oven to 200 degrees Celsius and flour a baking tray. Carefully turn the dough out onto the prepared tray, and gently remove the cloth. Flour the top of the loaf again and slash it a few times with a sharp knife.
- Place the loaf in the oven and leave it to bake for 30-40 minutes, until it’s dark golden brown, and sounds hollow when you tap on the bottom. Leave it to cool on a wire rack, and then try not to eat it all at once!

