

I’ve been hearing a lot lately about black sesame seeds. They seem to be cropping up in baking and even ice cream the nation over. I must admit I was completely ignorant of black sesame before sometime around a year ago when I heard about them on a TV show. I was instantly interested so I started looking into it.
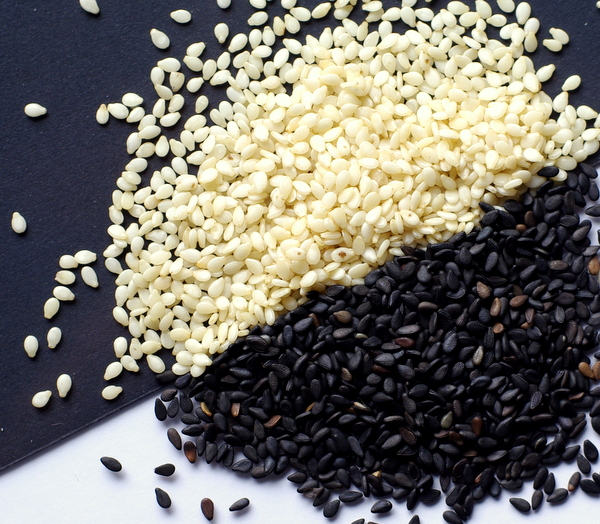
It turns out that black and white sesame are the same seed, but black sesame is un-hulled, while white sesame is hulled. I had no idea! I think I’d always just assumed that white sesame, the only kind I was aware of, were un-hulled but that their hulls were white. Evidently there are yellow, red, tan, brown and grey varieties of sesame too, with some of the varieties, especially black, being widely used in the cooking of East Asia.
Sesame seeds in general are a really excellent and nutritious seed. They are filled with protein, healthy fats, are rich in minerals, especially calcium, iron and zinc, and are an especially rich source of B vitamins.
I love it when I come across an ingredient that I’m un-familiar with, it opens up so many possibilities and gets the imagination revving. I’m especially inspired when I come across regional dishes using the new found food. In this case I came across black tahini, which I will definitely be trying out soon, and this traditional Chinese dessert, black sesame soup. The soup seems to be a mix of ground up black sesame, rice flour, water and sugar. I am so intrigued. I think it’s fascinating when there’s something so common place in one part of the world that people elsewhere have never heard of. It seems crazy in these days of information for such a lack of cultural knowledge to be possible, but also makes it pretty thrilling when you open a door to an unknown culinary world.
As for the health side from what I can gather, nutritionally there is not a lot of difference between the hulled and un-hulled seeds. Some people seem to think that there is marginally more calcium in the black, un-hulled variety, but I think that it must be negligible. The same applies to flavour. While the black seeds may be a fraction more bitter and a tad stronger in flavour, most people can’t taste much of a difference, myself included.
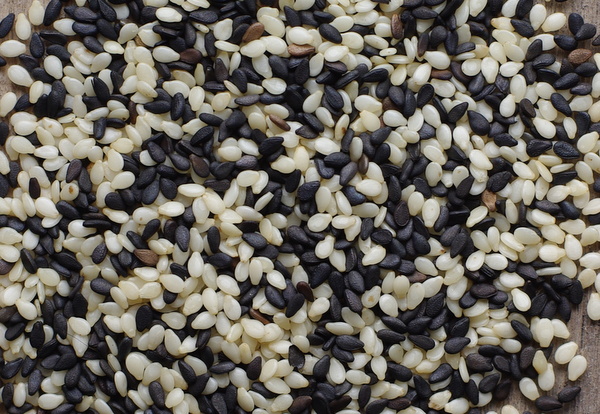
I think that what really appeals to me about the black seeds over the white ones is just the dramatic look of them. Seeing pictures of black sesame tahini makes me want to make something where the black colour really stands out. I think I’m going to end up sprinkling these on everything not just because of the abundant nutrition that they provide, but because they look pretty! Hmmm…I think that black sesame paste might be just the thing to create some wonderful Halloween recipes!
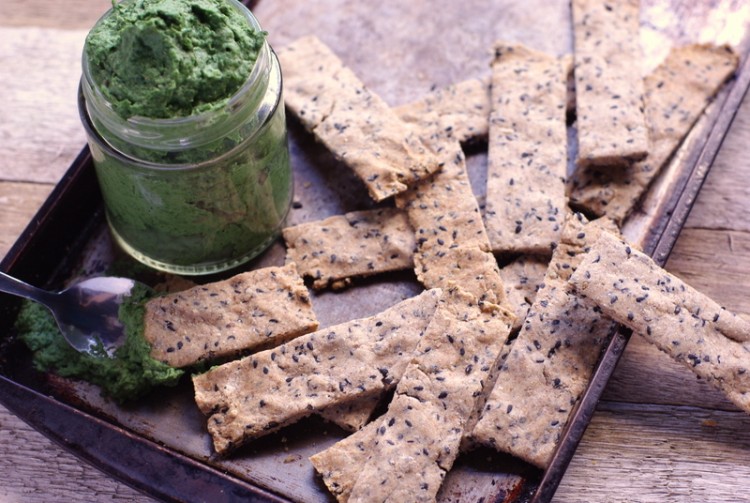
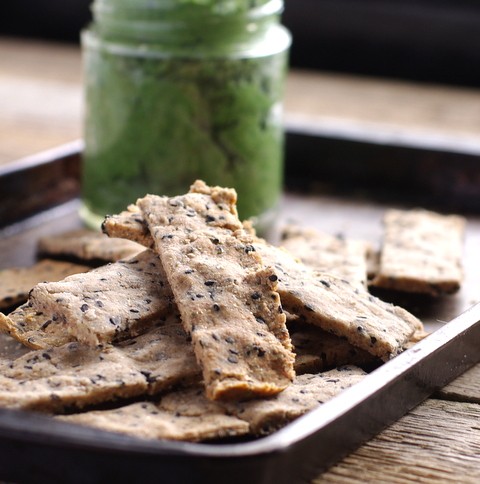
When I came across a bag of black sesame at the health food store the other day I decided to seize the chance to try them out, and had just the thing in mind for them. I’d been wanting to create some really dense, crunch crackers based on rye flour to go with this crazy green dip that I was thinking about (that recipe will follow in a few days…it needs some fine tuning). Inspired by the East Asian recipes I’d been checking out I decided to pair the rye flour with rice flour and the seeds. The results are lovely. They’re dense and rustic with that gorgeous nutty taste of sesame.
I believe that black sesame might have joined my ingredient shelf arsenal for good! (Buddy will be so pleased to see another jar added to the already overcrowded shelf..)
Can’t wait for Halloween… Mua-ha-ha-ha
- 75g rye flour
- 75g brown rice flour
- 25g black sesame seeds
- 1/2 tsp salt
- 2Tbsp coconut oil
- 150mL water (you may not need all)
- Pre-heat the oven to 180 degrees Celsius and lightly grease a baking tray.
- In a large bowl mix together the flours, sesame seeds and salt. Mix through the oil and crumble it in with your fingers until it’s fairly evenly distributed
- Add half of the water and start to squeeze the mixture together adding more water as needed until it comes together to form a fairly stiff but slightly crumbly dough. Knead for a few minutes.
- Crumble the dough over your baking tray and then with your fingers, press out flat so that it evenly covers the tray. Try and get it as smooth as you can. It may help to dampen your fingers slightly.
- With a sharp knife or a dough scraper score the dough into squares or rectangles and then place it in the oven.
- Bake until the crackers are dried out and crispy, starting to turn golden, and beginning to separate from each other.
- Remove from the oven and allow to cool for a few minutes on the tray before gently lifting them off and separating them from one another. Allow to cool completely on a wire rack and then store in an airtight container.