


Well, I finally bit the bullet and have done my first order to have groceries delivered to the house. I don’t really know how I feel about this. There’s something slightly exciting and decadent about the thought of our groceries being selected and packed, and finding their way at someone else’s hand through the rainy evening to arrive at our home while I’m lounging around in my comfy pants. But another part of me can’t quite relinquish the control of it, and also the opportunity to get out of the house, even if it’s just for groceries. I think I’ll seize the moment and practice embracing the joy of it. To heck with you un-comfy but understatedly stylish skinny jeans, I will relish the soft embrace of the comfy pants while receiving our weekly shop on the door step.
Though it’s all kind of novel and fun, the grocery order has not been by choice but rather by the ever present un-working car issue. The problem that we thought it was seemingly wasn’t so, new parts in place, it splutters on mocking us and it’s shiny new parts in ongoing defiance. And so off to the hit-or-miss virtual Shetland super market, where you’re never entirely sure what “substitutions” you could end up with, and what glorious inventions they could lead to.
In the meantime, and upon inspection of the contents of the fridge, I figured it was time for a clean out. All that was left in there was a couple of jars of rhubarb curd that I had made probably sometime around the turn of the century(the innocuous pink contents concealing the terrifying mold skin they’d developed under their lids), and a couple of languishing veggies. Normally on such an occasion I would avoid the daunting prospect of cleaning out the ominously innocent pink curd, and ditch the wilting veg. But not today. No. Today, spurred by our recent vehicularly imposed lack of ingredients, I’ve decided to embrace the listless veggies and rid the fridge of the lurking curd (I’m completely lying, the decision to get rid of the curd was, in actuality, prompted by Buddy taking it out of the fridge, setting it pointedly on the kitchen counter and asking “So…what are we doing with these…”).
Today is the day to make veggie stock.
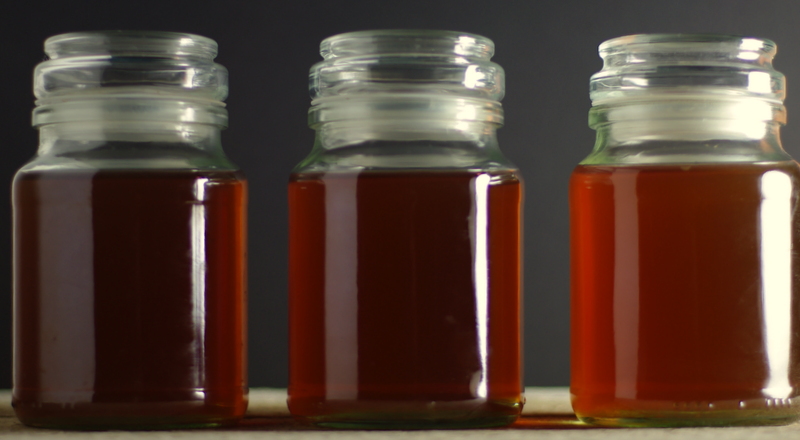
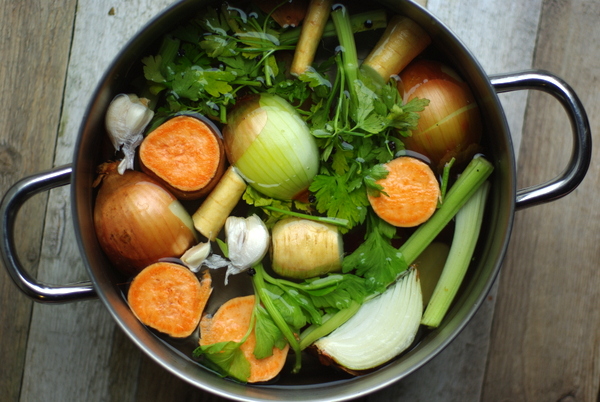
…gratuitously arty veg stock shot…
The making of stock is one of those things that I’ve been meaning to do for most of my adult life and only now, in my 38th year upon this planet, am I actually getting around to it for the first time. I’m not really sure why I haven’t done it before, especially here where we have a Rayburn, meaning the stove is never off. Leaving something simmering away on it for the entire day is really just a question of setting it on the stove and walking away. But rather than stashing away old wilting veg, and trimmings in the freezer, I go to the trouble to put on my boots and dispose of them in the slops bucket outside (also a bit of a lie as we just recently reinstated the slops bucket, preferring until recently to chuck food scraps out of the window for the birds… that constitutes composting doesn’t it?).
What I discovered today is that making stock is as easy as I’ve always suspected. All you need to do is throw whatever bits of old veggies you have lying around into a pot with some water and a bit of seasoning, and allow it to simmer for a really long time. That’s it! For that tiny effort you get a batch of fresh veggie stock to divide up and put in your freezer. What and excellent way to avoid some of the common additives that are in manufactured stock cubes like palm oil, sugar, preservatives and of course the dread MSG (also known, among other names, as hydrolyzed vegetable protein, and some times even yeast extract which I think is really misleading as I’d read this as Marmite).
The recipe below is really more of an example than a recipe as you could really experiment and try out different combinations and flavours. I’d suggest adding something flavourful like an onion or leeks, but anything could work. When making mine I just very roughly chopped the veggies and threw them all in. I didn’t peel anything, not even the onion or garlic, and I included the bits that you’d normally chuck out, like the celery leaves. It turned out really nicely, rich and flavourful.
I will definitely start saving the wilted veg and trimmings from now on. I can’t wait to try out the stock and share some recipes that make use of it.

- 1 onion
- 3 stalks of celery, no need to trim
- 1 med yam
- 4 cloves of garlic
- 2 small potatoes
- 1 parsnip
- Small handful of parsley
- 12 peppercorns
- 3L water
- 2tsp salt
- Very roughly chop the vegetables, halving or maybe quartering them will suffice, and no need to peel or trim anything.
- Add the vegetables (peels, trimmings and all) into a large pot along with the water, peppercorns and 1 tsp of salt. Set it over high heat and bring it to the boil.
- Once boiling, reduce the heat low enough for the water to sustain a gentle simmer, cover and leave for at least 3 hours. Add the other tsp of salt to taste.
- Once the stock has developed a flavour that you like, remove it from the heat and pass it through a fine sieve, or cloth lined colander.
- Allow the finished stock to cool completely, divide it into portions and freeze it in containers to use as you need it.
- Try using any old veggies and herbs that are past their best to experiment with the flavours. Keep a big freezer bag in the freezer to store your veg. trimmings for use in your next batch.