I never used to bake…ever.
A few times when I was a kid I had a go at it and deciding that the recipes were not good enough (mostly due to a blatant inadequacy of chocolate content), and that my early-teen-aged-non-bakerly knowledge was certainly ample to come up with something genius, I would stray quite dramatically from the recipe. The resulting monstrosities are the stuff of legend within my family. One particular incident -wherein a mysterious lump of dough unexpectedly surfaced in a pan full of chocolate-ish sludge and floated there ominously like a large alien dumpling in a lake of slime- is the source of much mocking from my sisters. For years I abandoned all attempts and left it to mass manufacturers to provide me with bread and all things lovely and baked.
It’s only in the last few years that I’ve discovered the absolute magnificence and joy that is baking. I now know that you can alter recipes and create really wonderful and new things if you understand and take into account the science of baking first. Nowhere is this magical science more evident and amazing as in the baking of bread.
Bread is one of my passions in life. I am in love with it; the smell, taste, texture, endless variety, and the process of making it. Once you get into baking bread it becomes this wholesome meditative endeavor and is truly enriching. I think that real, fresh bread is incredibly nutritious and can be a really valuable part of a healthy diet. For me carb-free could never work, within a day I think I would become a loathsome grump from whom my family would flee in terror.
With all of this in mind, I’ve decided to share what I’ve learned about the basics of bread making in the hopes that if you don’t make bread already, you’ll give it a try.
Bread is basically just flour and water, and usually some additional ingredients; often salt, sometimes oil, and a leavening agent, for leavened breads.
Flour:
Today there are oodles of different types of flour commonly available. Flours with gluten make lighter, fluffier bread with a greater rise, as it’s the gluten that allows the gas to be trapped within the dough during rising. Some flours such as rye and spelt, do contain gluten, but a lower amount which gives a denser loaf. And other flours still, such as buckwheat, are gluten-free, and can make a lovely addition to gluten containing recipes, or can be used in specialty gluten-free recipes.
Water:
I usually use water that is room temperature or cooler as warmer water will speed up the rising time, but as a result of this speed your loaf will be less flavorful. A longer rising and proving time are well worth the wait.
Salt:
The addition of salt to your dough will greatly enhance the flavor, but also acts to strengthen the gluten. Be careful when adding salt to your dough as, if it comes in direct contact with the yeast it will kill it.
Oil:
Adding oil to your dough is completely optional, but its addition will result in a softer loaf that will maintain its softness for longer. Lately I’ve mostly been using coconut oil simply because I like it, but experimenting with different oils would be a great way to come up with some slightly different results.
Leavening agents:
Most commonly bread is yeast leavened, whether it’s baker’s yeast, or the naturally formed yeasts of sourdough. When using baker’s yeast, I tend to use instant yeast because you don’t need to take the time to bloom the yeast first (activate it in warm water with sugar usually), and I don’t notice a difference in the results between instant or fresh yeast. Sourdough is another beast all together which takes some forethought and care, but will more than pay you back in the satisfaction of baking from your own starter, and also from a flavorsome and nutritious loaf. Some recipes call for alternate leavening agents such as bicarbonate of soda in soda bread for example.
The following are the basic steps for making most leavened bread:
1. Mixing
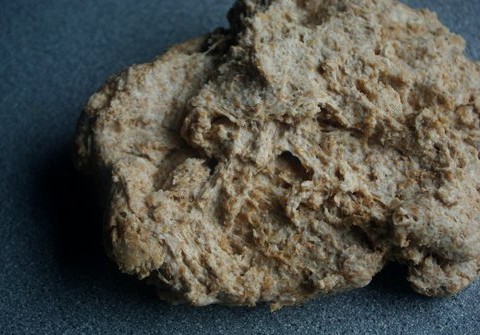
Once you’ve measured out your ingredients and added most of your liquid you can bring them together to form a rough dough. Turn the dough around with your fingers and squash it together until it’s roughly combined.
2.Kneading
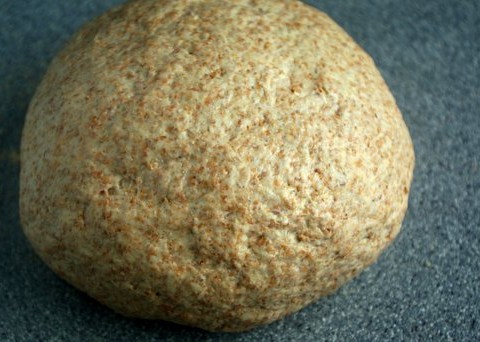
Turn your dough out onto your working surface. Depending on the recipe you can either oil the surface or lightly flour it. In most cases oil is preferable as working on a floured surface adds flour to your dough and can make your loaf a lot heavier. The purpose of kneading is to ensure all of the ingredients are thoroughly combined, but as importantly, to allow the gluten to form. Think about stretching the dough to encourage its formation. Plop the dough down and stretch it out along the surface and then fold it back in onto itself, turn it and repeat. Keep kneading until the dough is no longer sticky and clumpy. It should become smooth and it will draw together and stop sticking to your fingers and working surface as much. For wheat dough this takes about five minutes or so.
3.Rising
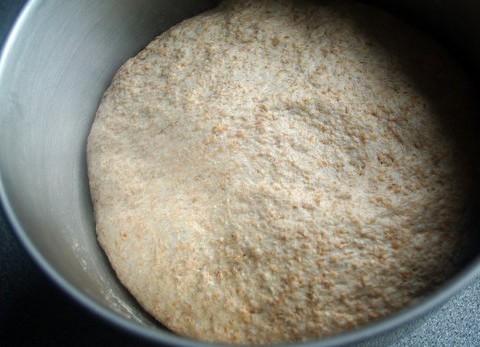
Put your kneaded dough into a large, lightly oiled bowl and cover it with a cloth or cling film and leave it to rise until it’s doubled in size. Again, the longer this takes the tastier your bread will be, so allowing this to happen in a cooler area is good (some methods even call for rising in the fridge overnight). If your risen dough starts to collapse back in on its self don’t leave it any longer.
4.Knocking back and shaping
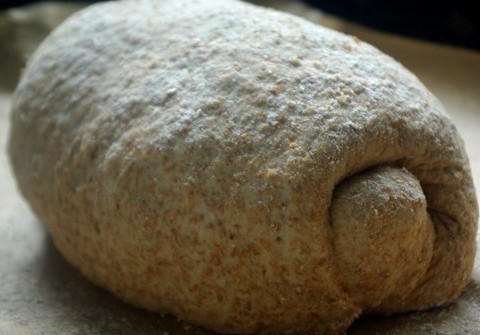
Tip the dough onto a lightly floured surface and squash it in on its self several times until it’s smooth and all of the air is out. This will give your finished loaf a more even texture. Some particularly airy types of bread don’t even require knocking back at all, it just depends on the outcome you’re after. Once it’s knocked back, form the dough into whatever shape you would like your loaf to take, and place it on a baking sheet.
5.Proving
This step is the second rising of the dough. Place your formed loaf on it’s baking sheet into a large plastic bag and set it aside. Again, a longer prove is desirable. I usually just prove mine on the kitchen counter, and it usually takes about an hour. To check if it’s finished proving poke it gently, if it springs back it’s ready. If it collapses and kind of deflates then go back to step 4 and prove it again.
6.Baking
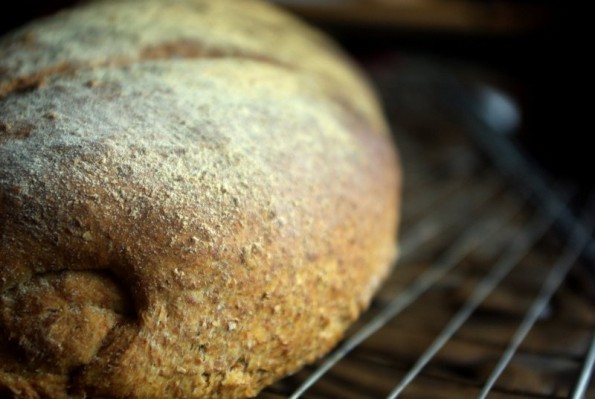
Baking will vary depending on your loaf, but generally a fairly hot oven is what you’re after. The most momentous tip I’ve learned about baking bread was one that I got from Paul Hollywood’s How to Bake. He suggests that you set a pan of boiling water in the bottom of the oven during baking. The steam gives you the most flaky, heavenly crust you could imagine. Try it! You will know your loaf is done when it’s quite dark and if you tap on the bottom of it, it should sound hollow.
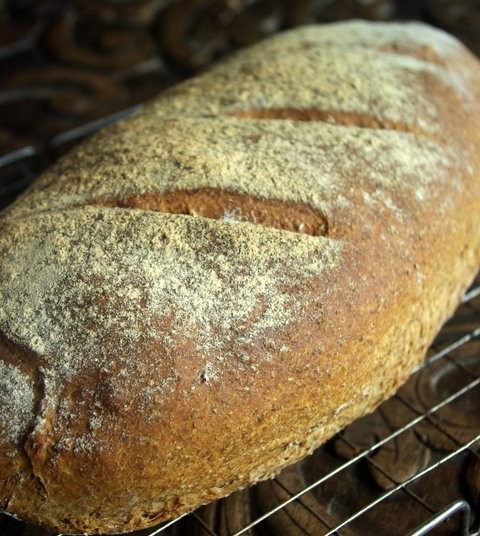
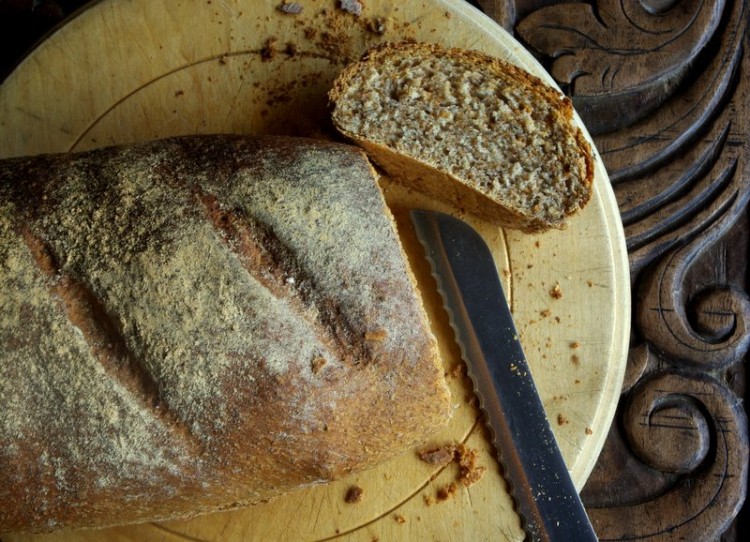
There you have it. Below I’m going to add a recipe for 100% whole wheat bread which I adapted from a recipe that I found in the afore mentioned Paul Hollywood book. That book, by the way, is an excellent and informative book for bread making, as is James Morton’s Bread (a brilliant baker and Shetland fellow, his blog is excellent as well. I hope you’ll give bread making a try if it’s not already part of your life. It really is so worth it on so

- 500g wholemeal bread flour, plus a little for dusting
- 1/2 Tbsp salt
- 1 Tbsp + 1/4 tsp instant yeast
- 3 Tbsp oil, plus a bit for kneading
- 325 mL water, at room temperature
- Measure the flour into a large bowl and add the yeast to one side and the salt to the other, being sure that the yeast and salt don't come into direct contact as the salt can kill the yeast.
- Add the oil and most of the water and bring it together to form a rough dough. Add the remaining water if needed, you want the dough to be quite wet but not sloppy.
- Turn the dough out onto a lightly oiled surface and knead well until the dough becomes smooth and draws together.
- Place the dough into a lightly oiled bowl and cover with a cloth or cling film. Leave it to rise at room temperature until doubled in size, probably about 2-3 hours.
- Tip the dough out onto a lightly floured surface and knock it back until all bubbles are gone. Form it into a loaf of your desired shape, and place it on a baking tray. Dust the surface of the loaf with flour.
- Place the tray into a large plastic bag and leave the loaf to prove at room temperature for about an hour or until it springs back when poked.
- Meanwhile, pre-heat the oven to 220 degrees Celsius.
- When the dough is proved put a pan of boiling water in the bottom of the oven, and the loaf on the centre rack. Leave to bake until dark golden brown, about 30 minutes. To check if it's done, tap on the bottom of the loaf. It's baked when it sounds hollow.



I could never go bread-free. I’ll do plyometrics 24 hours a day if I have to, but I’ll never, EVER give up my bread.
Hahaha!! Me too!!