


Today’s post is one that I’ve been particularly excited about as it involves Sourdough!!
I absolutely love sourdough. I love the texture and the flavour of the bread, but equally I love the lore and traditions involved, and the care and…well…love, that sourdough bakers put into their bread. With care a sourdough starter can live beyond a life time, and are sometimes passed on to the next generation. I find bread making in general deeply fulfilling on a level that I never expected, and sourdough seems to touch on the very heart of it. I guess it’s passion.
I have yet, however, to really figure out this magnificent skill. I never seem to get it quite right.
But I think all of that is changing. About three days ago I found this website; Sourdough Baker and I’ve spent the last few days completely absorbed in it.
Written by professional sourdough baker Warwick Quinton, it is one of the most comprehensive and clear sites I’ve read about sourdough, and I have learned heaps from it already. As a result, today I started a new starter which should be ready for use in semi-leavened recipes (loaves made partly with the starter but with a bit of help from some added yeast) in a week, and in six weeks it will be ready to go it alone in some pure sourdough.
I will update as the sourdough adventures progress.
In the meantime, I had another really simple starter on the go which was only about a week old. It was based on a method wherein you combine 1/4 cup or 35g of whole wheat flour with an equal amount of water, and feed it twice a day, morning and night, with the same amounts of flour and water as above, discarding about 3/4 of the mixture every second day. After a week it was active, though, as I’ve now learned, very young and so lacking a bit in the flavour of a fully developed starter.
I decided to use it to make a semi-leavened, cold-risen spelt loaf based on a lovely Scandinavian recipe from this beautiful book, Scandinavian Baking by Trine Hahnemann.
There is, it seems, a bit of a common misconception that during rising, dough should be kept somewhere warm. While it is true that this helps to speed up the rise, it actually works against the flavour of the finished loaf. Dough that has had time to rise slowly also has time to develop it’s flavour and texture beautifully. This is where cold-rising a loaf comes in. You can actually put your dough in the fridge over night (longer if you’d like) to rise. Believe it or not, it will rise under these conditions, and you’ll reap the benefits of your patience with the magnificently flavourful loaf that you end up with.
I really like this method, not only for the wonderful flavour that it produces, but also for the convenience of being able to make the dough one day, leave it over night, and have it ready for proving and subsequently baking, in the morning!
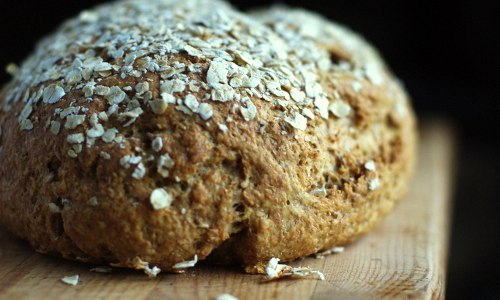
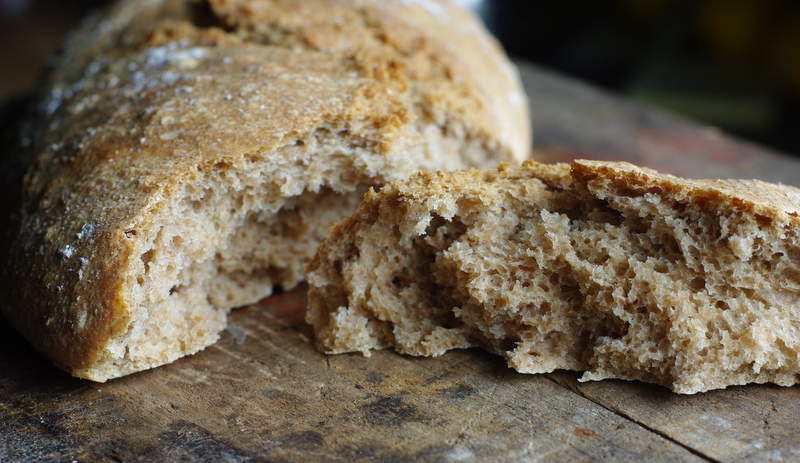
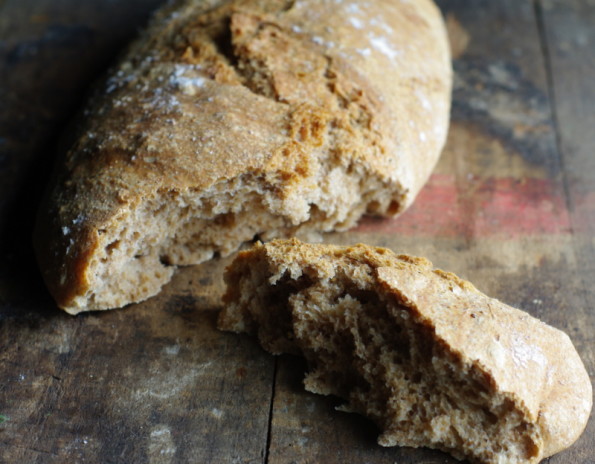
The original recipe here called for a mix of white flour and spelt, but I opted to use 100% spelt, and I couldn’t be happier with the results. The loaf had a texture that I have never before achieved in a spelt loaf, soft and chewy with an incredible rise, and a crispy, golden crust. And though my immature starter failed to give it a really sour kind of sourdough flavour, it was magnificently full of spelt flavour. Beautiful.
I will be going into sourdough in greater detail as I learn more, but for now I would highly, highly recommend you try your hand at this cold-risen spelt loaf, and check out Sourdough Baker if sourdough is a topic that interests you. It is a gold mine!
- 100ml or 1/3 cup active sourdough starter
- 1 x 7g packet of instant yeast
- 300ml or 1 cup of tepid water
- 400g or 2 1/4 cup of whole spelt flour
- 1 tsp salt
- Measure the flour into a large bowl. Add the salt to one side and the yeast to the other.
- Pour in the starter and water and mix very well, either with a wooden spoon, or with a dough hook in a mixer. The dough will be sticky.
- Once all of the ingredients are thoroughly combined, cover the bowl and put it in the fridge. Leave it for eight hours or overnight.
- In the morning remove the dough from the fridge and gently tip it onto a floured surface. Leave it to rest for 30 minutes.
- Meanwhile pre-heat the oven to 220 degrees Celsius and line a baking sheet with baking parchment, and place a roasting tin with 1/2” of boiling water in it in the bottom of the oven (Steam during baking gives the loaf a beautiful crispy crust).
- After the dough has rested for 30 minutes, gently shape it into an oblong loaf and gently place it on the prepared tray (unlike other loaves, this recipe doesn’t call for knocking the dough back, so handle it carefully to keep the rise in it as much as possible).
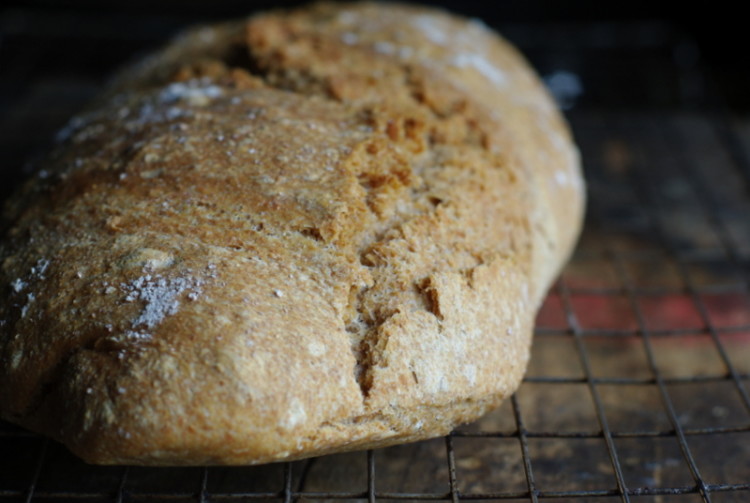
- Place the tray into the pre-heated oven and leave it to bake for 30 minutes, or until deep golden. The bottom should sound hollow when you tap it. If you feel the loaf is nearly finished but the bottom’s not quite there, remove the tin of water from the oven, and remove the loaf from its tray, returning it to the oven just on the oven rack for the last 10 minutes of the baking time.
- Cool on a wire rack.