
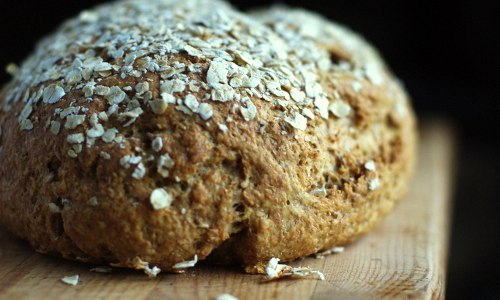

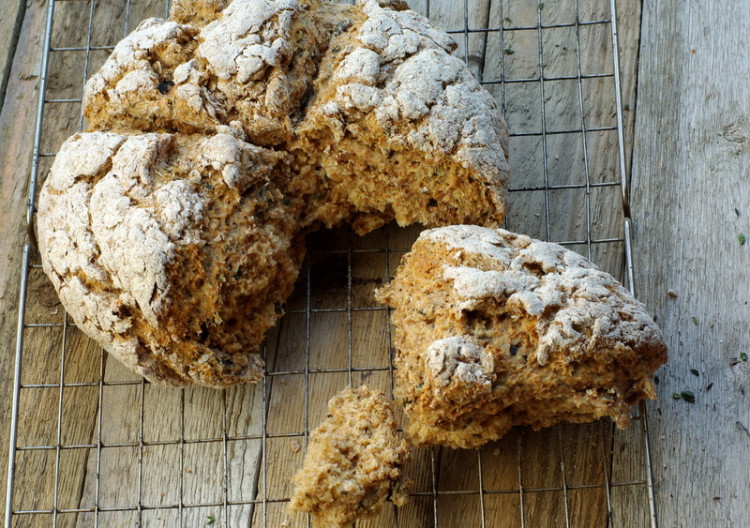
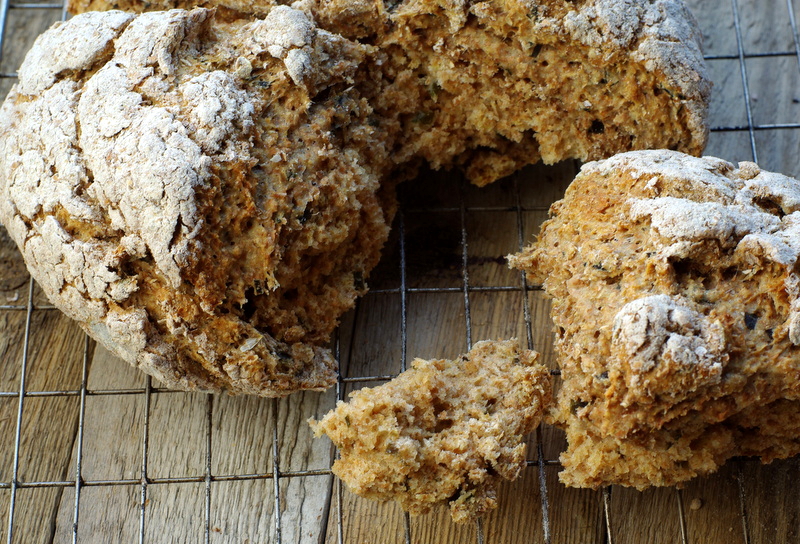
For a while now I’ve been increasingly interested by the idea of cooking with sea weed. So the other day, when inspiration struck, I gave it a try and made some whole wheat kelp bread. Going into it I had no idea what to expect and, I must say, I was thrilled with the results!
As someone who comes from a city my sense of food acquisition has been pretty much limited to buying stuff from the shop. Since being in Shetland though, and more importantly surrounded by farming, my horizons have broadened substantially. It’s thrilling to see beyond the super-market to where our food actually comes from. All around us people are growing veggies, rearing animals, and raising hens for eggs. Even the milk that we buy at the shop comes directly from my sister-in-law’s dairy farm just up the road. It’s very grounding to be around, and gives me a greater sense of connection to our world.
So with all of this in mind, for ages I’ve been meaning to learn a bit about foraging. After all, what could connect you more to the world than to find your food yourself in what’s around you?
However, my foraging ambitions have long been relegated to the realms of ‘some day I’d love to…’, and all the while the seasons have been presenting magnificent opportunities -not least of which is an absolute abundance of elderflowers that surround our house in the late summer- and I’ve observed them with wistful detachment and not gone for it.
But the other day we went to the beach, and the moment was upon me. The sea had washed it’s kelp-y bounty into my path, and at last I seized the chance…and the kelp.
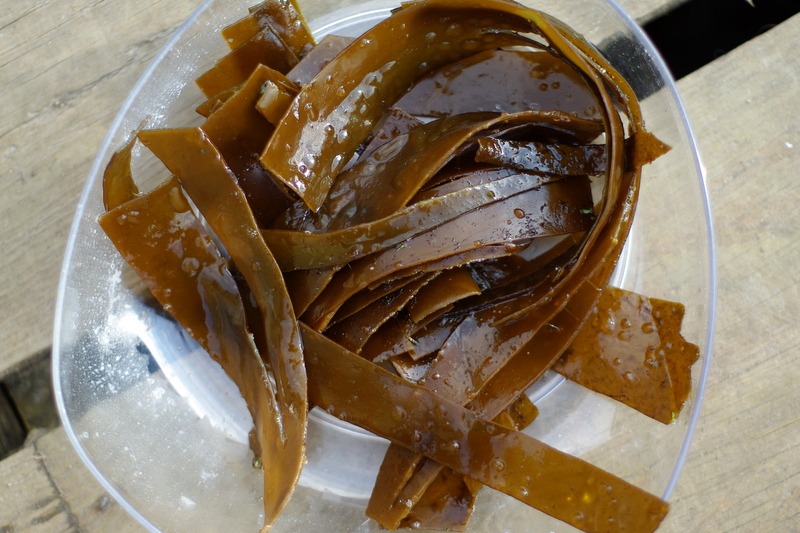
Upon getting the kelp home and staring for some time at it’s sandy mass in the bottom of the boy’s orange Halloween bucket, I realized I had no idea what to do with kelp. Then the idea struck me to add it to bread because, really, doesn’t bread complement everything?
First though I had to prepare the seaweed. I turned to the internet for advice and found that it’s best to blanch it. I gave it a good wash, cut it into manageable bits and, working in batches, put it in rapidly boiling water for about a minute. As if my magic, the kelp turned from brown-ish to bright green, and the slime (more on that in a minute) disappeared. After it was blanched, I rinsed it again. Then I finely chopped the amount I’d decided to add to the bread, and set the rest on a baking sheet in a very low oven to dry for about 24 hours. I added my bread kelp to a classic soda bread recipe, and used the dried stuff the next day in a very delicious bean and kelp ‘meat’ loaf.
As this has been my very first foraging success, and approached with no small amount of spur-of-the moment unpreparedness, I thought I’d share a few things;
What I learned from my adventure with kelp
- Don’t collect kelp that’s been washed up on a sandy beach. This was my “method” and I have since realized that it was a ridiculous plan. Though in the end I managed to turn it into something lovely, the process of washing sand out of the kelp was… long. Also, I have since read that to harvest the nicest seaweed you should cut it from a live plant, taking care to do it properly so as not to damage the plant, and first finding out if you need a permit or permission to do so. There’s a load of information on this really wonderful website at Galloway Wild Foods (wish I’d found this site before the foraging mood took me).
- Kelp is slimy…very, very slimy. It started out just a little slimy, but as I cut it up and tried to wash the masses of sand from it, it seemed to produce a never ending amount of slime. In the end half of the kitchen was covered in a layer of slime the likes of which would befit Ghost Busters. Next time I would be more prepared, would be ready to blanch it earlier, and would have one chopping board ready to go and close to the boiling water. Don’t know if anyone else has any ideas on slime management?
- Use more than you think. Again, I don’t know if this is a shared experience, but when I was formulating my recipe I chickened out a bit on the amount of kelp to include for fear of the bread tasting too beachy. Because of this I used only 50g and could barely taste it. In my second attempt I increased it to 100g which was nice, but I do think you can be quite bold with it. It’s a milder flavour than I had expected.
- This foraging business is addictive. Now that I’ve tried it I’m raring to go foraging again. It’s thrilling to go out and gather your own food. I think it must tap into some long dormant part of us which we should be using. Now I’m looking around at everything in a different light, and wonder what is sitting on our door step that could feed my family! Exciting!
In the coming months I will most certainly be trying out more foraging. I notice already that the nettles are coming up! If any one has any insight or advice please comment! I’d love to learn more!
Happy foraging!
- 100g fresh kelp, washed and chopped into manageable pieces
- 500g whole wheat flour
- 1 tsp baking soda (bicarbonate of soda)
- 1 tsp sea salt
- 400mL buttermilk
- Pre heat the oven to 200 degrees Celsius and line a baking tray with baking parchment.
- Set a large pot of water over high heat and bring it to a rolling boil. In batches, add the kelp to the water and allow it to boil for about a minute, until it’s bright green. Remove it from the water with tongues or a slotted spoon before adding the next batch. Repeat until all of the kelp is blanched.
- Once the kelp is cool, chop it quite finely.
- In a large bowl mix together the flour, salt and baking soda until well combined. Add the kelp and mix until it’s evenly distributed.
- Make a well in the dry ingredients and pour the buttermilk into it. Carefully work the buttermilk into the flour just bringing it together to form a sticky dough.
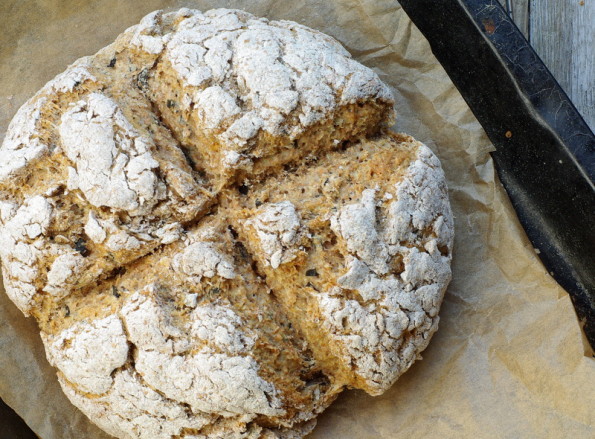
- Turn the dough out onto a well floured surface and flour the top of the dough well too. Handling the dough as little as possible gently pat it into a ball and flatten it out slightly. Transfer it carefully to the prepared baking tray and with a sharp knife or dough scraper cut an X into the ball cutting nearly all the way through.
- Place the loaf in the oven and leave to bake for about 30 minutes, until crisp on the outside and sounds hollow when you tap on the bottom.
- Leave to cool on a wire rack.